Hellloooo, everybody! We're going to get crafty today!
We're all sick here, so mostly we've been sipping hot tea and clear broth. I could take a picture of the tea package and call it a post, right??? I'm sure wishing I had some of Julie's home made chicken stock right about now.
Anyway, I thought we'd show you an update on our closet-turned-reading nook.
Now, some of these pictures are a little shocking. Just remember that I have six kids.
Fine, that's no excuse. Just remember I'm a pack-rat at heart and I have passed that trait down to all my kids. But we're determined to be more organized and donate what we don't use. Because if we don't love it enough to put it away, then someone else needs it more!
When everything is out of the closet, where does it go? And why do we have so many toys? Oh, the questions that will remain unanswered...
Why, why, why??
So, closet is cleaned out, doors off (they were perpetually broken and you could only squeeze in your upper body to grab a coat or two). The painting begins!
The work crew.
He can look cute and paint at the SAME TIME.
The closet was a 'home made' project from the previous owner (who also built the house, sometime in 1930 or so). I like his shelves, so I'm keeping them.
Drying. Watch carefully... something may change... any moment now...
Shelves painted, dried, and replaced.
I bought a drill at Home Depot and put up some shelves. Not really happy with the quality (of the product, not the work, smarty pants!) but they will do.
The kids picked out the curtains... Hanging on a tension rod above the frame of the doorway.
Closed curtains. Cool. Another changing spot. Toddlers may not be running naked quite so often. Unless they just use this space to strip and then return to the world
deshabille.
The kids picked out some wooden trim and painted in the vine scroll pattern. Pretty!
Ana plans her space. Everyone has made requests for the artwork. She and the others will take turns making it become a reality.
The castle is outlined.
Putting up some of our Fisher Price toys. I want to get rid of an old shelf in the room, so I'm rearranging.
LED strip lights were next. I bought a kit at Home Depot. It came with everything I needed, including little sticky pads for the plastic runners. Plugged it in and... pretty!
I like the soft glow.
I did manage to install it upside down. Ugh. But, it still works and the kids figured it out really quickly. So, they can adjust the lighting themselves.
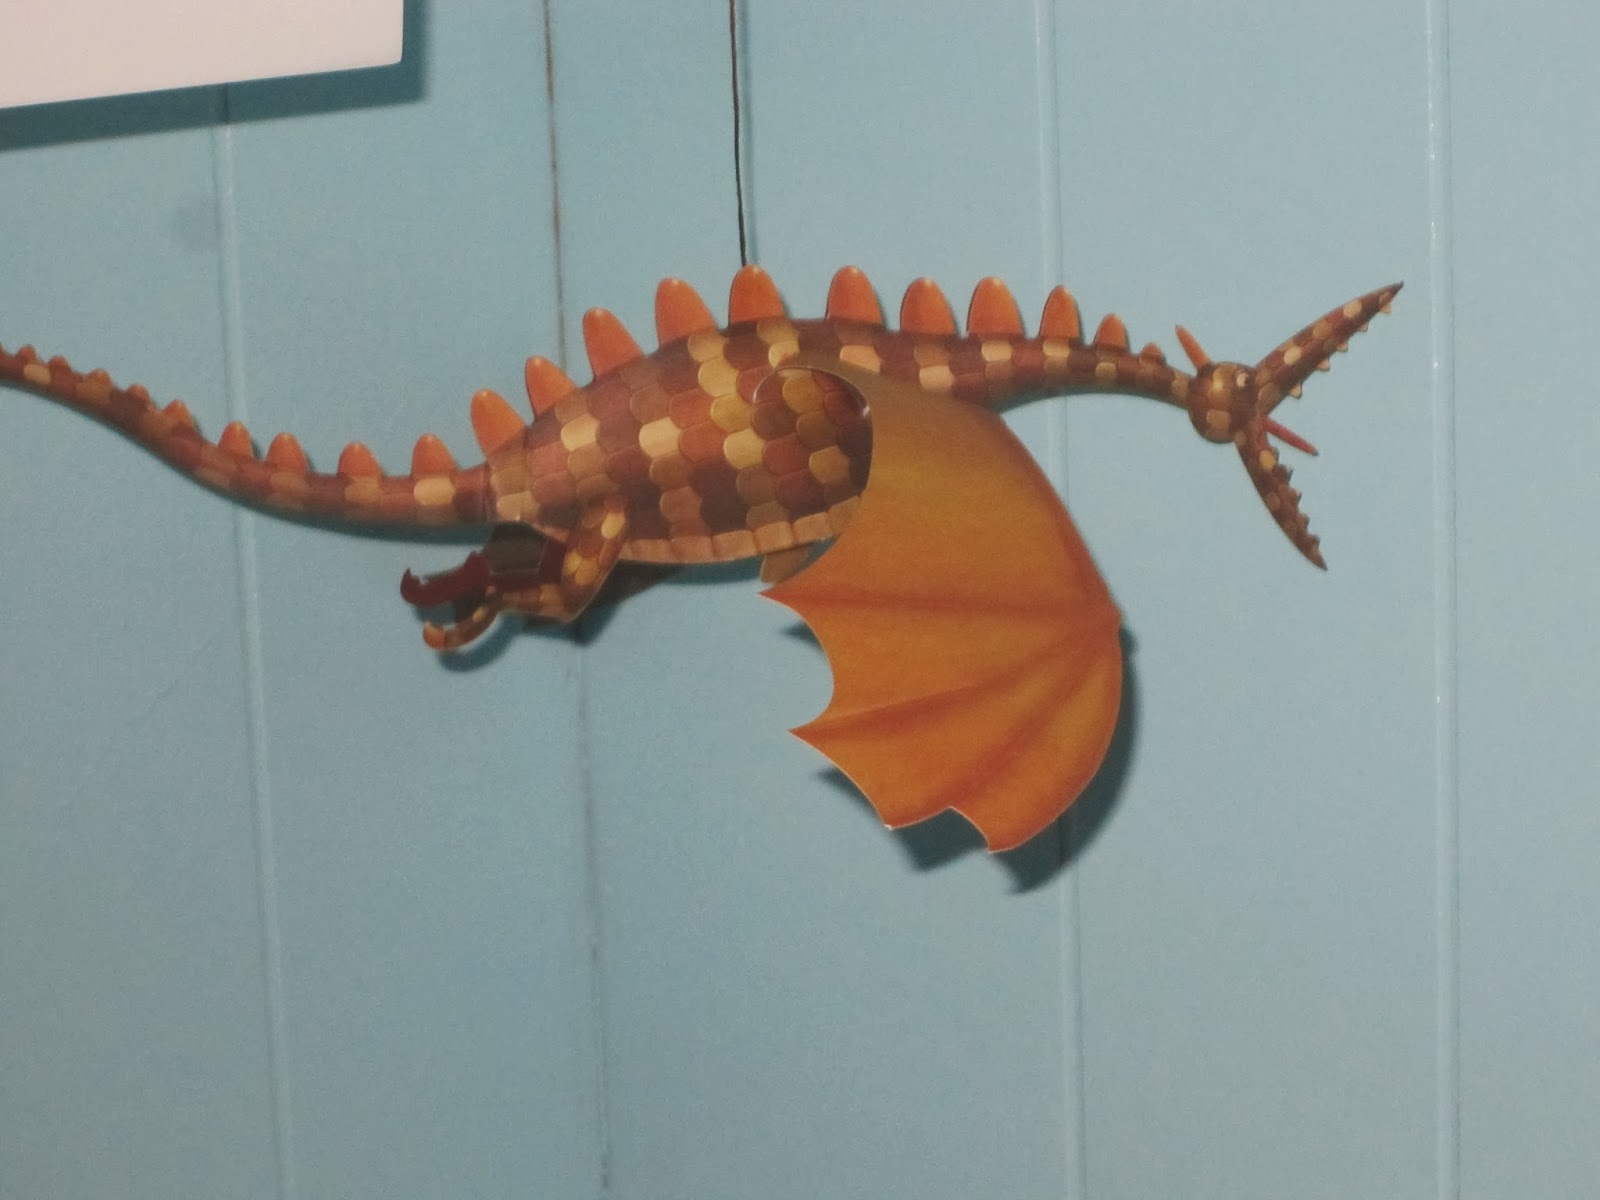
A dragon takes shape.
I bought a lot of Martha Stewart sparkly craft paint. Grrrrr. It's basically a clear overlay. So we had to go to Walmart and buy standard craft paint. Lesson learned.
More dragon.
The door is painted, Rapunzel in the left tower. A poor prisoner to the right.
Now he has somewhere to stand.
More soft storage boxes arrive from Amazon. They were $5 (not the dragon, but he was too cute to resist) and an excellent deal. You never know what the quality will be like, but they aren't tissue paper thin, but actually woven fabric.
Some paper origami dragons that we found in a book. Easy and fun!
Another origami dragon.
Ana giving me her "je suis une artiste" look.
Not sure what these characters are. A mouse and someone flying a bat?
So, now the shelves are little more tidy. I still need to sort out books. So. Many. Books.
All in all, this has been a really fun project so far and it's definitely been worth the struggle of sorting and scrubbing and painting. After the bean bag arrives, we should be putting on the finishing touches and letting the littlies settle in. I've heard talk of camping out in there, but we'll see how that goes. All those dragons and the shadows might be too scary!
Until next time (when I promise to have an actual recipe)!


No comments:
Post a Comment